PIR Angle in Trail Cameras
Explore the concept of PIR Angle in trail cameras, its significance in motion detection, and how it impacts wildlife monitoring, hunting, and security applications.
Learn how PIR angle affects detection range in trail cameras.

| Common Values | Description |
|---|---|
| 40° | A narrow PIR angle of 40° is ideal for focused monitoring of specific trails or entry points. It minimizes false triggers from peripheral movement, making it suitable for targeted wildlife observation or security applications. |
| 60° | A 60° PIR angle offers a balance between focused detection and wider coverage. It is suitable for monitoring trails or areas with moderate activity, providing a good compromise between sensitivity and false triggers. |
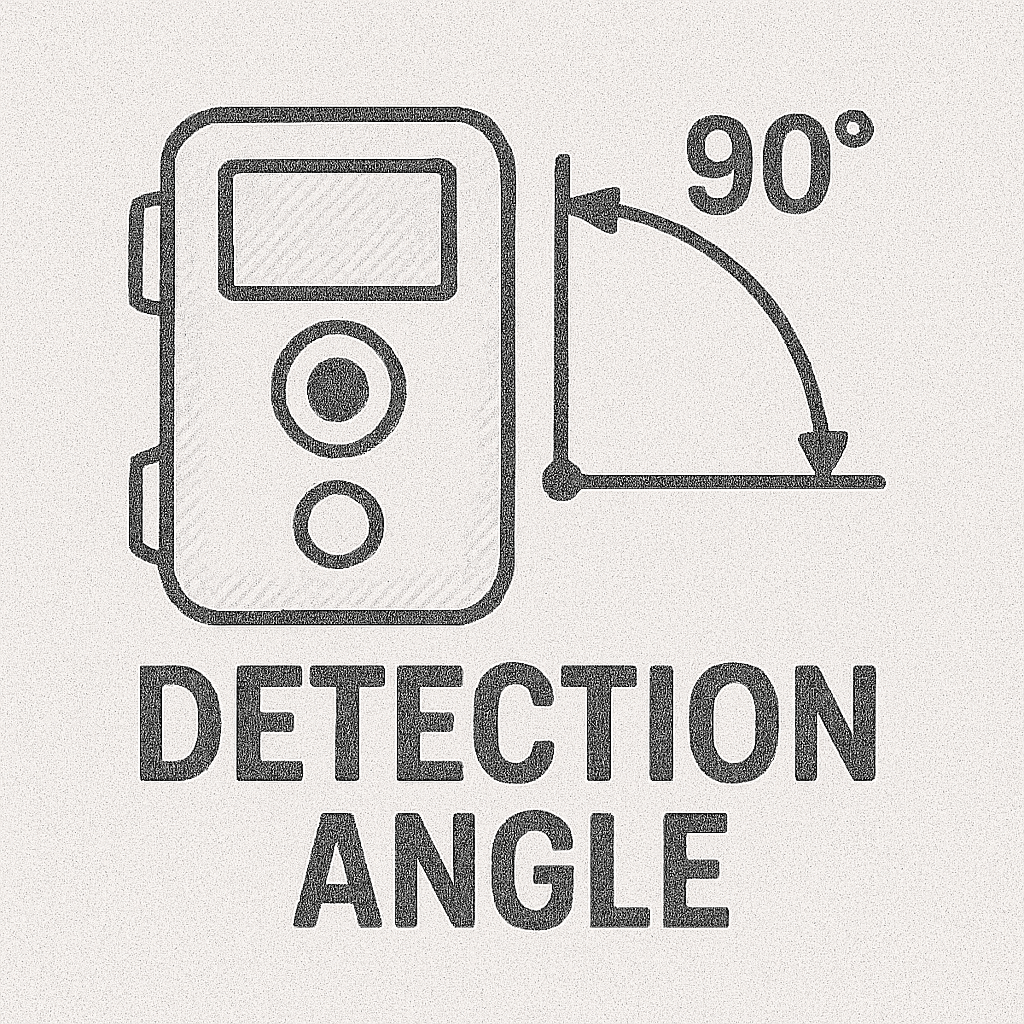
| 90° | A 90° PIR angle provides a wider detection range, making it suitable for open areas or fields. It allows for capturing movement from multiple directions, increasing the chances of detecting wildlife or security events. |
| 120° | A 120° PIR angle offers the widest detection range, ideal for monitoring large open spaces or areas with high activity. It maximizes the chances of capturing movement but may lead to more false triggers from peripheral motion. |
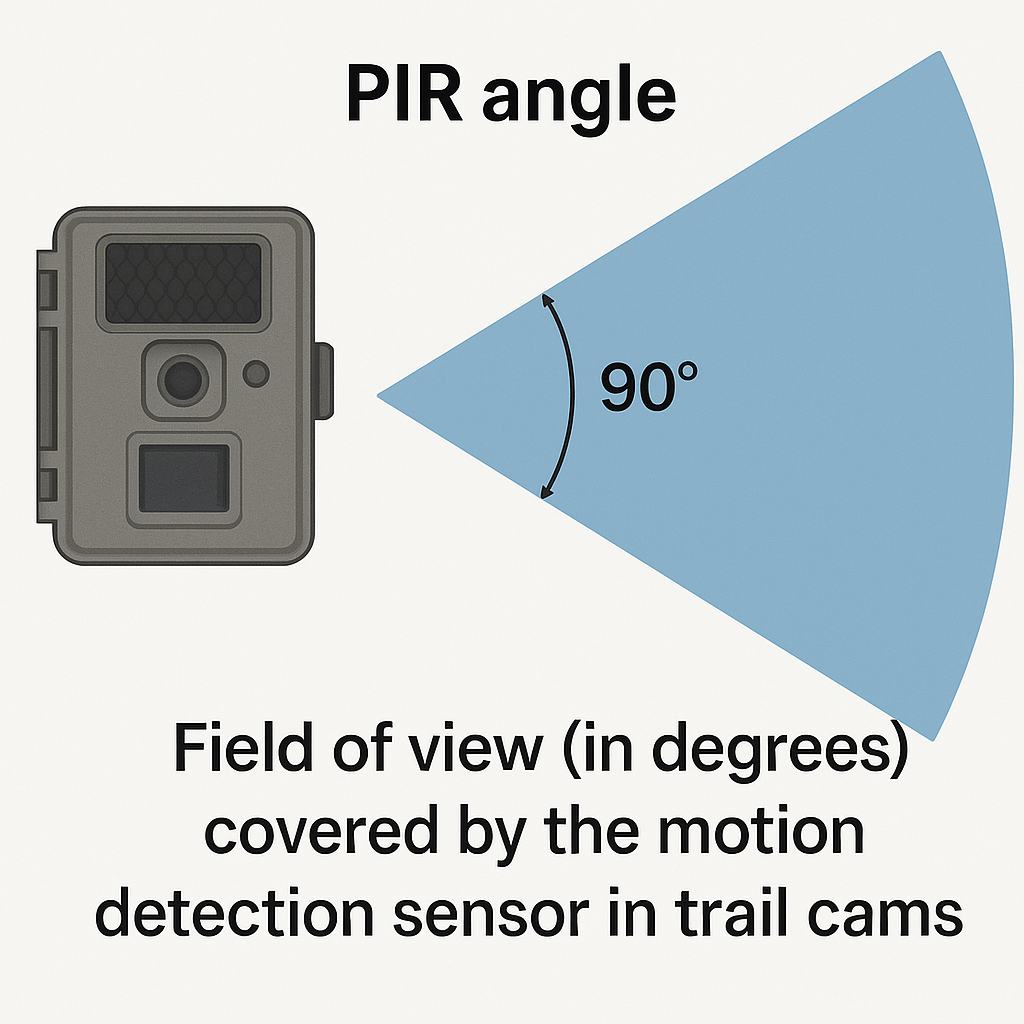
The PIR angle is simply the width of the area, measured in degrees, that a trail camera’s motion sensor can “see.” This field of view decides how much ground the sensor watches for movement and heat, so it directly affects how likely you are to catch animals on camera or keep watch over a certain spot. Picking the right PIR angle helps you get the photos and video you want, whether you’re watching a whole field for wildlife or keeping an eye on a narrow path for security.
A Passive Infrared (PIR) sensor is the part of a trail camera that picks up movement by detecting changes in heat—like the body heat of animals or people—within its view. The PIR angle tells you how wide the sensor’s detection zone is, measured in degrees. For example, if a camera has a 90° PIR angle, it can detect movement in a 90-degree arc out in front. While the camera lens might see more, the PIR angle only covers the area where motion will actually trigger the camera to take a photo or video. The detection area is shaped like a fan, and only movement inside that fan will set off the camera.
The best PIR angle for your trail camera depends on where you put it and what you want to catch. A wide PIR angle—say, 100° or more—works well if you’re watching a big open area, like a meadow or field, or if you want to spot animals coming from many directions. For example, if you set your camera on the edge of a clearing, a larger angle means you’ll be more likely to catch deer, turkeys, or coyotes moving across different parts of the space. Wide PIR angles are also good for security, since they let you cover more ground and see more of what’s happening around the edges of your property.
A narrow PIR angle—usually between 40° and 60°—makes more sense if you want to focus on a single trail, game path, or entry point. With a smaller angle, you’re less likely to get false alarms from things like moving branches or small animals off to the side. This is a good setup if you’re after a certain kind of animal that uses the same path every day, or if you want to keep an eye on a driveway or gate.
For some people, a wide PIR angle is just a nice extra feature. But for others—like hunters watching a specific trail or someone wanting to secure a single entrance—it’s the main thing to look for. Matching the PIR angle to your needs helps you get the results you want, without sorting through a bunch of useless photos or missing important activity.
Trail cameras come with PIR angles ranging from about 40° up to 120°. Basic cameras usually have angles between 45° and 60°, which are good for watching smaller areas or specific spots. More advanced models might offer wider angles, from 70° to 120°, which help cover big, open spaces.
A small PIR angle means the camera will only detect movement in a narrow zone right in front of it. This lowers the chance of picking up things you don’t care about, but it also means you might miss animals or people who pass just outside that zone.
A wide PIR angle lets the camera watch a much bigger area and spot movement from more directions. This is good in open areas but can lead to more false alarms if the camera is aimed where there’s a lot of activity, like blowing grass or a busy path.
So, the PIR angle you choose decides how much ground your camera covers and how likely it is to catch what you’re looking for.
To pick the best PIR angle, start with where you’ll use the camera and what you want to catch. Is it going out in a wide-open field, a thick forest, along a trail, or at a gate? Wide PIR angles are better for open spaces, while narrow angles are better for focused spots.
Think about what you’re hoping to see. Are you after fast-moving animals like deer or coyotes that could come from anywhere? A wider angle gives you more chances to catch them. If you’re watching for slow or smaller animals on a set path, a narrow angle will work better.
It also helps to balance the PIR angle with other features. For example, the detection range—the farthest distance the camera can sense movement—should match up with the PIR angle so you don’t have blind spots or overlap. Trigger speed (how fast the camera reacts to movement) matters more with wide PIR angles, since animals can move through the detection zone quickly.
Where you place the camera matters, too. A camera with a 90° PIR angle pointed directly across a trail will catch more action than one pointed along the trail, which might miss animals coming in from the side.
Check the PIR angle listed in the camera’s specs, and look for reviews from people who have used it in situations similar to yours. For example, the Bushnell Trophy Cam HD Essential E3 has a 48° PIR angle, which is good for focused setups, while the Browning Strike Force Pro XD has a 120° angle, which works well for keeping an eye on bigger areas. Pick the one that fits your needs best.
Choosing a PIR angle that’s too wide or too narrow can cause problems. If the angle is too wide, you might get a ton of false alarms from things like moving branches, small animals you’re not interested in, or cars passing by in the background. This can fill up your memory card fast and make it hard to find the photos you actually want.
If the PIR angle is too narrow, you might miss important movement that happens just outside the detection zone, especially if the camera isn’t pointed exactly at where the action happens.
Setting up the camera in the right spot helps a lot. Mount the camera at a height and angle that lines up the PIR sensor with the usual path of animals or people. For trails or narrow paths, make sure the main action goes right through the center of the detection area. In open spaces, angle the camera so it covers the busiest spots without picking up too much unnecessary movement on the sides.
It’s a good idea to test the camera’s position—walk through the area yourself and see if the camera picks you up. Adjust the angle and height until you get the coverage you want, with as few false alarms as possible. Many cameras let you adjust the sensitivity of the PIR sensor, so you can fine-tune it for your particular spot.
The PIR angle is one of the most important things to look at when buying and setting up a trail camera. It decides how much of the area in front of the camera is watched for movement, which directly affects what you’ll see in your photos and videos. By picking a PIR angle that matches your goals—whether you’re watching a big field for wildlife, keeping track of a single trail, or monitoring a gate—you’ll get better results and waste less time sorting through extra footage. Think about your location, what you want to watch, and how much ground you need to cover. Then choose a camera with the PIR angle that matches your needs for reliable and efficient monitoring.
Explore the concept of PIR Angle in trail cameras, its significance in motion detection, and how it impacts wildlife monitoring, hunting, and security applications.
Discover how Passive Infrared Sensors (PIR) enhance trail cameras, enabling motion detection through heat changes and ensuring energy efficiency.

Explore the concept of detection angle in trail cameras, including its impact on camera placement, field of view, and capturing wildlife effectively.