Introduction
Protecting Trail Cameras During Rainy Weather
Trail cameras are helpful for wildlife enthusiasts, hunters, and researchers because they provide a unique look into animal behavior and outdoor environments. However, rainy weather can create challenges that harm these devices. Problems such as water entering the camera, lens fogging, and corrosion can reduce performance. These issues may result in blurry images or even cause permanent damage to your equipment.
Goal of This Guide
This guide offers practical tips to help you use and protect trail cameras during the rainy season. By learning methods like waterproofing, setting up your camera correctly, and maintaining it, you can keep it working well. These steps will help your camera capture clear footage without interruption, even in wet weather. Protecting your trail cameras ensures they last longer and helps you continue monitoring wildlife and outdoor activities effectively.
Understanding the Risks of Rainy Weather
How Rain Affects Trail Camera Functionality
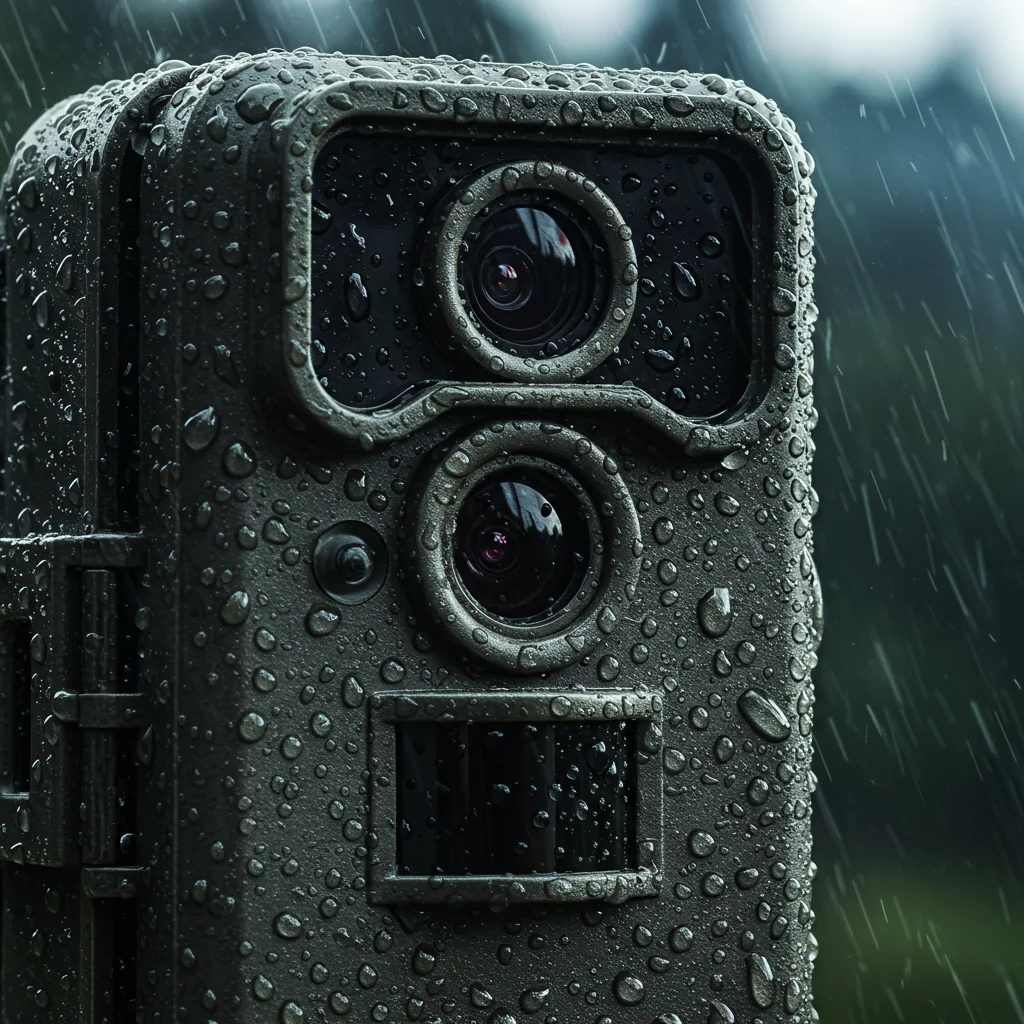
Rainy weather creates several challenges for the performance and durability of trail cameras. One major issue is water entering the camera’s internal components. When moisture seeps into the housing, it can cause short circuits that result in the device failing. Long-term exposure to rain also increases the chance of corrosion, particularly on metal parts like battery compartments and electrical contacts. Corrosion can harm the camera’s performance or even make it unusable over time.
Another common problem is lens fogging, which happens when condensation forms on either the inside or outside of the lens. This reduces image quality, making it harder to capture clear photos or videos of wildlife. Heavy rain can also interfere with the camera’s sensors, leading to blurry or distorted images. Water droplets on the lens and poor visibility in low-light conditions further contribute to these issues.
Problems Common During the Rainy Season
Trail cameras often experience operational difficulties during rainy seasons. For example, moisture can bypass the protective casing, leading to corrosion of internal parts like circuit boards. Over time, this damage could cause permanent malfunctions. Additionally, water entering the device may result in short circuits, which can immediately stop the camera from working.
Moisture buildup inside the housing is another issue. This can create condensation that not only affects the lens but also puts sensitive internal components at risk. Rain can also physically damage external parts, such as by peeling away poorly applied seals or harming casings that are not waterproof. These problems show how important it is to address the risks of rainy weather to keep your trail camera functional and long-lasting.
By identifying these challenges, you can take steps to protect your device and ensure it continues to perform reliably, even in wet conditions.
Selecting the Right Trail Camera
Choosing the right trail camera matters when preparing for rainy seasons. Not all cameras can handle long exposure to wet conditions, so knowing the key features will help you choose wisely.
Features to Look for in a Waterproof Trail Camera
To ensure your trail camera lasts and works well during rainy periods, focus on these features:
High IP Rating for Waterproofing:
The Ingress Protection (IP) rating measures how well a device resists solids and liquids. Look for trail cameras with a rating of IP65 or higher. These cameras can handle heavy rain and keep out dust effectively.
Weatherproof Design:
Choose cameras with strong, weatherproof casings made from durable materials like high-grade plastic or metal. Rubber gaskets around areas like the battery compartment and other openings add extra protection against water entering the device.
Sealed Lens and Ports:
Make sure the lens and all ports, such as SD card slots and charging ports, are tightly sealed to block moisture from getting inside.
Durable Construction:
Cameras with reinforced edges or shockproof materials are better equipped to handle outdoor challenges, including strong winds and heavy rain.
Recommended Models for Rainy Seasons
Some trail cameras are specifically designed to perform well in wet environments. Consider these options:
- Browning Recon Force Elite HP5: Offers excellent waterproofing and delivers sharp, high-quality images.
- Reconyx Hyperfire 2 Cellular: Features an IP67 rating for top-tier protection and includes real-time photo transmission capabilities.
- Bushnell Core DS No Glow: Built with a tough design and effective rubber gasket seals to prevent water damage.
Choosing a trail camera with these features ensures your device stays protected during rainy weather. It also maintains the quality of your wildlife monitoring and data collection. A reliable waterproof trail camera keeps your equipment safe and performing without interruptions in challenging weather.
Waterproofing and Protecting Your Camera
Using Rain Covers and Protective Gear
Rain covers and protective gear help protect your trail camera from rain damage. You can choose commercial waterproof enclosures or rain hoods designed specifically for trail cameras. These accessories add an extra layer of protection, keeping rain away from the camera and stopping water from entering key parts. If you’re looking for a more affordable option, you can use waterproof pouches or tightly sealed ziplock bags to cover your camera. Make sure all ports, like DC plugs, are securely closed to block out any moisture.
Positioning Your Camera for Maximum Protection
Where you place your trail camera plays a big role in keeping it safe during rain. Set up the camera under natural shelters, like tree branches or overhangs, to limit how much rain it directly faces. Position the camera on higher ground to avoid water pooling around it during heavy rain. Tilt the camera slightly downward to stop water from collecting on the lens and to keep rain streaks from ruining image quality. It’s also best to keep cameras away from areas near water, as rising water during storms could flood and damage the device.
DIY Waterproofing Tips
You can make your trail camera more resistant to water using simple do-it-yourself methods. Apply silicone sealant along the seams and joints to make them watertight. This method works well for older cameras that may not have strong waterproofing. Place desiccant packs, like silica gel, inside the camera housing to absorb moisture and stop condensation. These are especially helpful in humid areas, such as rainforests, where moisture often builds up. Check and replace the desiccant packs regularly to keep them effective.
By following these steps, you can protect your trail camera and keep it working smoothly, even during rainy weather.
Maintenance During and After Rainy Weather
Cleaning and Drying Your Camera
If your trail camera gets wet in the rain, clean and dry it thoroughly to avoid damage. Start by using a microfiber cloth to gently wipe the external surface and lenses, removing water, dirt, or debris. Do not use rough or abrasive materials that might scratch the lens. If you notice moisture inside the camera, take out the batteries and SD card right away. Place the camera in a sealed bag with uncooked rice or silica gel packets for at least 48 hours to absorb the moisture. Do not use heat sources like a hair dryer, as they can harm the internal parts of the camera.
Preventing Moisture Build-Up
To prevent future moisture problems, store your trail camera in a dry, airtight container when it’s not in use. Adding silica gel packets to the container helps absorb leftover humidity. Make sure to check and replace the packets regularly to keep them effective. Before using the camera again, inspect all seals, gaskets, and housings to ensure they are intact and securely closed.
Regular checks help keep your trail camera working well during and after rainy weather. Look for signs of water damage, like corrosion on battery terminals or fogging on the lens. Test all the camera’s functions, such as motion sensors, photo capture, and storage, before putting it back in use. Replace any damaged parts or make repairs as needed to maintain good performance.
These steps will help keep your trail camera in good condition and ensure it works reliably, even in wet conditions.
Setting Up Trail Cameras Effectively in Wet Conditions
Choosing the Right Location
When setting up trail cameras in wet conditions, you should focus on finding the right location. Elevated spots work best because they prevent water from pooling around your camera. Try to place the camera under natural shelters, like thick foliage, rock overhangs, or tree canopies, to protect it from direct rainfall. Avoid areas near streams or rivers, as these locations are more likely to experience splashing or flooding.
Position the camera at a slight downward angle to reduce the chance of rain getting into sensitive parts such as the lens or seams of the housing. Look for spots with less dense vegetation to keep the view clear. Overgrown plants can block the lens and may also cause the camera to trigger unnecessarily when the wind moves them.
Adjusting Camera Settings for Rainy Days
Rainy weather requires specific adjustments to your camera settings to keep it working effectively. If your camera has a shutter speed option, increase it to capture sharper images even in lower light. Adjust the infrared sensitivity to a lower level since rain or fog can interfere with detection, leading to false triggers caused by falling rain or moving branches.
Pay attention to the flash settings as well. In dim, rainy conditions, use a no-glow or low-glow infrared flash. This keeps wildlife from being startled while still producing clear images. Don’t forget to update the date and time stamps regularly, as the damp environment may cause delays in data recording. Before deploying the camera, test its settings to make sure it will perform correctly.
By carefully selecting the location and adjusting the settings, you can ensure your trail camera works efficiently even in wet weather. This approach protects your equipment and helps you capture clear, useful footage.
Benefits of Protecting Trail Cameras During Rainy Season
Extended Equipment Lifespan
Protecting your trail camera properly during the rainy season helps it last longer. Moisture is one of the main causes of internal corrosion, electrical issues, and damage to delicate parts. By using waterproof casings or sealing spots with silicone, you can stop water from entering and harming the camera. Without this protection, the camera’s functionality can decline over time. Research shows that electronic devices exposed to moisture for long periods have a 50% higher chance of experiencing permanent damage compared to those that are well-protected. Keeping your camera safe from rain reduces wear and tear, making sure you get the most value from your investment.
Consistent Wildlife Monitoring
If your trail camera is well-protected, it can continue to monitor wildlife without interruption, even in bad weather. During rainy seasons, animal activity often increases because their habitats change, making this a great time for data collection. Cameras shielded from water maintain clear image quality and steady performance, so you can capture important wildlife behaviors without any disruptions. Protection also prevents the lens from fogging and avoids short circuits, ensuring the camera works reliably throughout the season.
Cost-Effective Maintenance
Taking steps to protect your camera, like using rain covers or desiccants, can cut down on the need for repairs or replacements. Waterproofing keeps the internal parts safe from moisture, which reduces the chances of failure and lowers maintenance costs. Storing the camera in airtight containers with silica gel packets is another way to prevent long-term damage. These preventative measures save you money by avoiding unnecessary repairs.
Environmental Adaptability
Rainy weather often creates tough conditions, such as high humidity and persistent moisture. Protecting your trail camera helps it continue working well in these environments. Using cameras with high IP-rated waterproof designs or adding extra protective covers ensures they keep functioning in extreme conditions, whether in temperate forests or tropical rainforests.
By protecting your trail camera during the rainy season, you not only keep it working effectively but also improve its ability to capture reliable data. These efforts make your camera a dependable tool for years to come.